Is this true of you? You’ve reached the place in your life where you’ve got boxes of family photo prints and maybe even boxes of slides from the 60s and 70s. You’re thinking a lot about how to curate and protect your family’s print photos so that you can share them all with your family.
You might not be thinking so much about all of those digital photos on your smartphone. But I’m here to tell you they are important, too. Those are your collected memories from now. And unlike those prints of photos your mom took in 1975, your smartphone photos can still be improved pretty easily if they need it. All it takes is for you to learn how to use your phone’s photo editing tools.
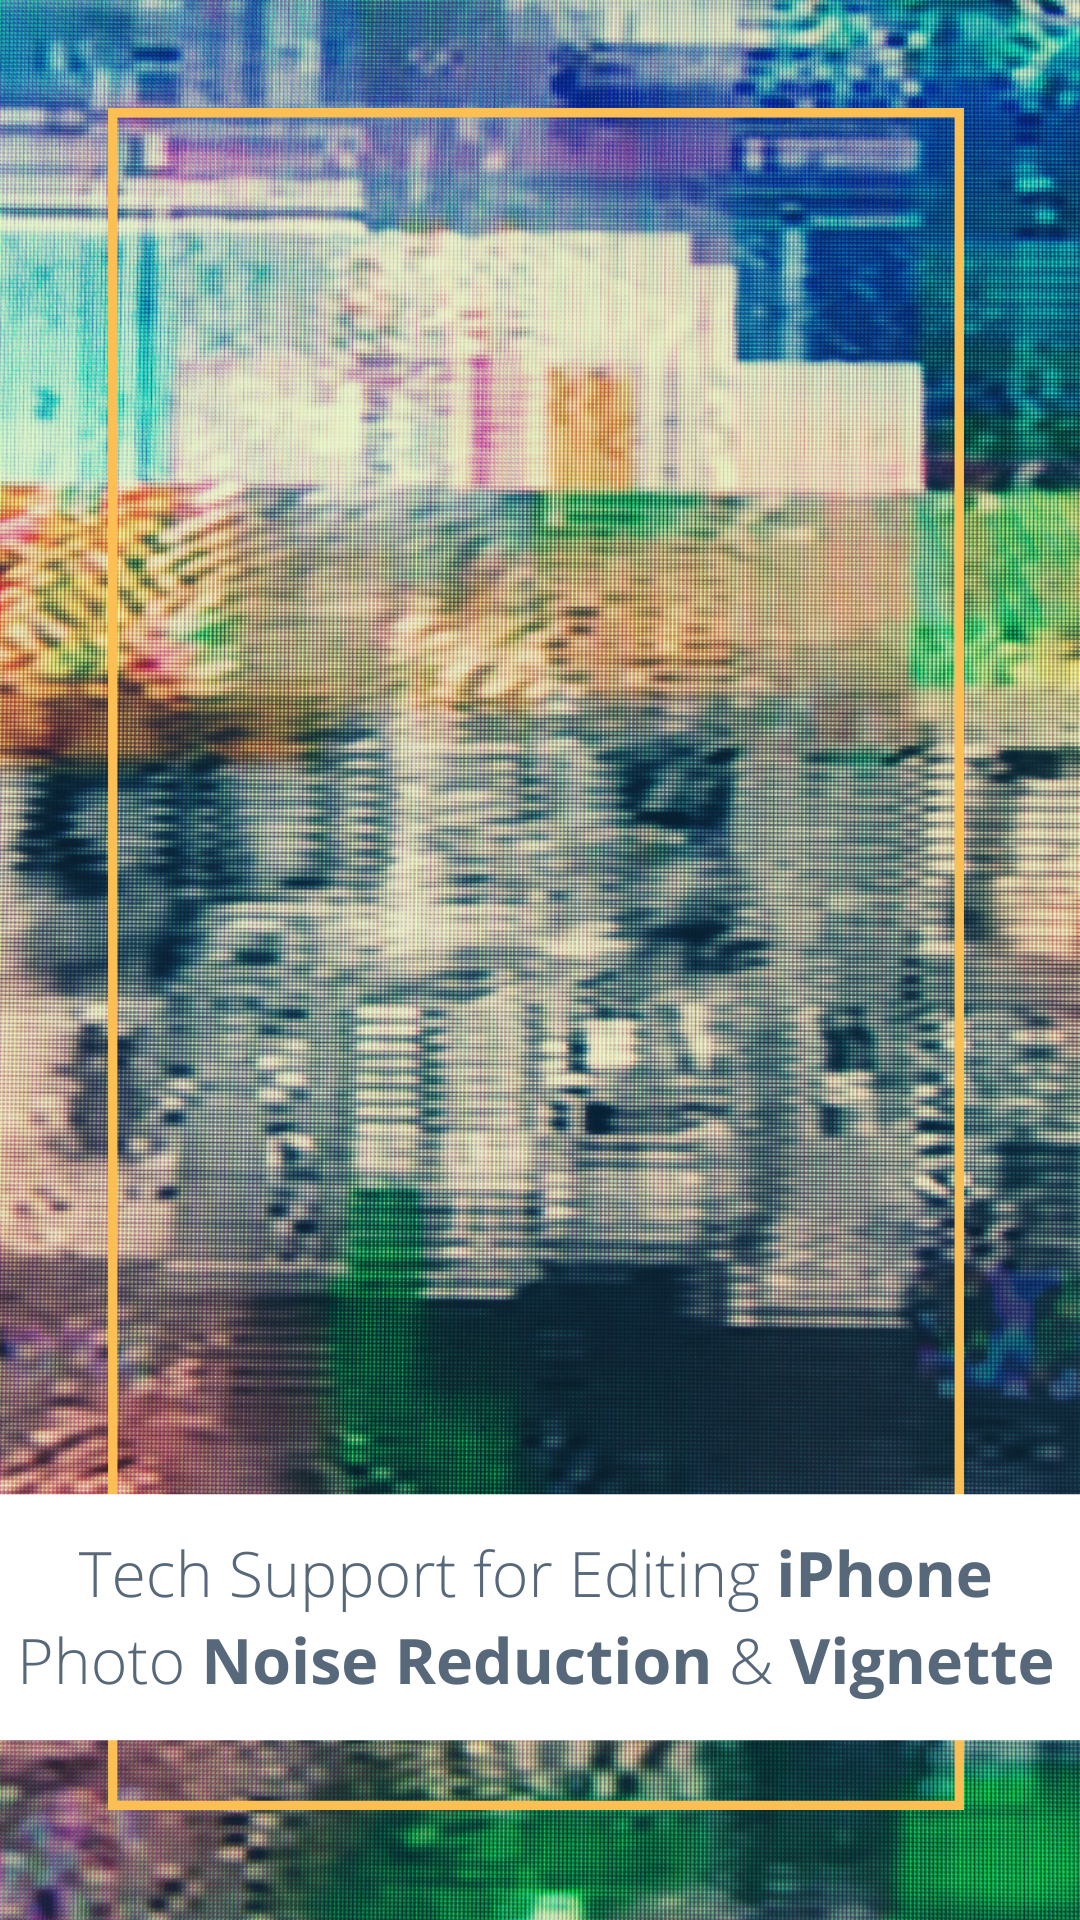
In other articles and companion videos, I’ve covered all of the editing tools that are available on your iPhone except for 2. (Android help is here.) Let’s take a close look at two of the “Detail” tools – Noise Reduction and Vignette. With these, we will have covered all of the onboard editing tools.
Getting Started
This tutorial is based on the iPhone’s iOS 15, so if you have problems following along, check your operating system to see if you need to upgrade. If you aren’t sure how to do that, watch this short video.
The Detail Photo Editing Tools
You can read about the first 2 of the 4 Detail tools – Sharpness and Definition – here. [link article] Now let’s see how using the Noise Reduction and Vignette tools change your photos.
- Noise Reduction: Reduces the graininess in your image.
- Vignette: Darkens the corners of your image.
Why Adjust Noise Reduction?
Noise Reduction lets you reduce the effects of camera noise, which can result in those small dots you sometimes see when you zoom in on low-light photos. It’s something that some smartphone and tablet cameras can be particularly vulnerable to. If you notice fuzzy dots on your zoomed-in image, then you might want to increase the Noise Reduction slider and see if it helps.
Now I have a confession to make. I tried and tried to create a good example of how a photo could be improved with this tool. And I failed. I’m thinking that my iPhone 13 Pro camera is just too good to create much noise in a low-light photo.
 Yes, I tried and tried taking lots of photos early one morning in my dark house hoping to find one that I could magically improve. I even took a photo of my big cat Henry with most of the lights off in the room. But I just couldn’t find one that had a lot of noise on it.
So instead, I found another photo that has visual noise in it naturally – not the fault of the camera sensor.
How the Noise Reduction Tool Works
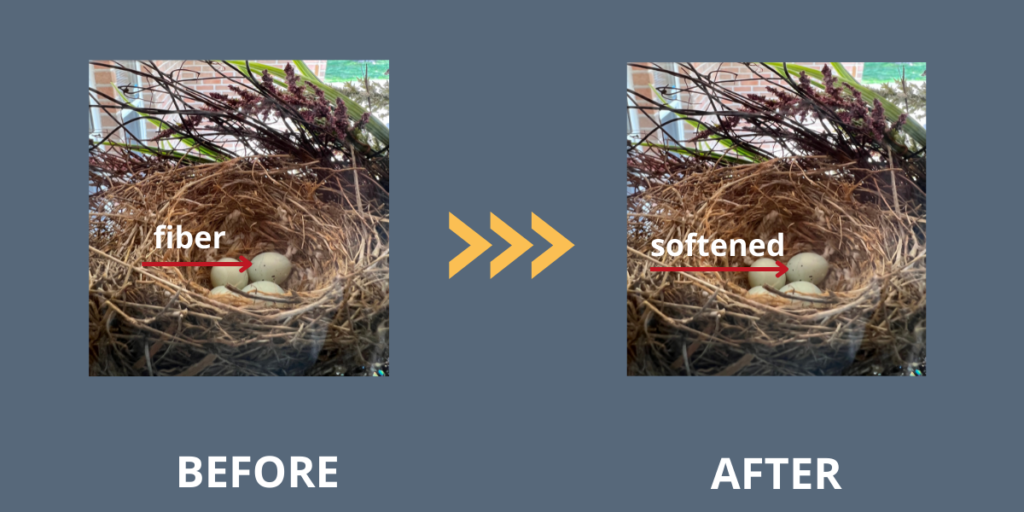
I used a photo of a house finch nest sitting on the wreath on my front door. I took it from inside my house through the window at the top of the door. If you look closely you’ll see there’s a fiber or hair in the photo that was probably on the window when I took the shot.
I experimented with using the Noise Reduction tool to see if I could blur away the fiber/hair and it worked! So keep this tool in mind if you have something like this that you want to remove from a photo. And if you do come across some speckles in a low-light photo, I’m sure it will take care of that, too!
Why Use the Vignette Tool?
 Using the vignette tool lets you darken or lighten the frame surrounding your picture. Darkening the frame can add quite an antique feel to a photo.
The effects of the vignette tool make me think of those old-timey photos with the framing around the edges. But sometimes you might want to add that filtered framing around a photo to focus on what is in the center.
How the Vignette Tool Works
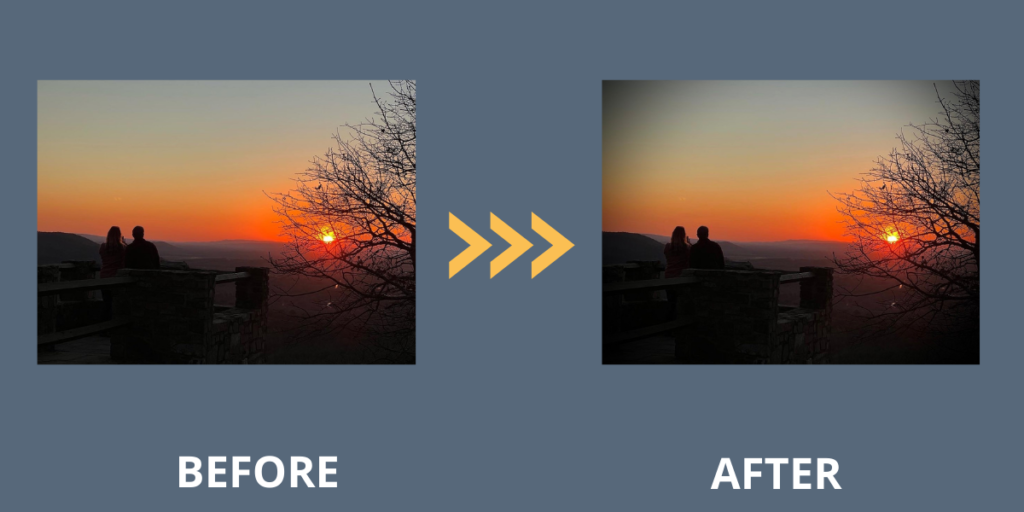
I experimented with a sunset photo so that you could really see how it works. You might be surprised to know that you can choose either a lighter framing or a darker framing by sliding the settings in opposite directions. The darker framing gives it a nice look and adds to the mood of the photo I think.
Now It’s Your Turn to Experiment
Do you have a dark photo with some speckles that need to be softened up so that they disappear? I hope you’ll take the time to edit some of your photos to learn more about how making changes using the Noise Reduction tool can change a photo. Give the Vignette tool a try, too. You might create something really special.
If this is the first article in this series that you have read, I encourage you to start at the beginning and learn what all of the mobile phone editing tools can do! iPhone Editing Tools Series


0 Comments