Finding time to get those sweet family stories out of your head and down onto paper is tough. We all struggle with finding that time. And that keeps your stories from being saved. Let’s find a solution by using your voice instead of your fingers.
Instead of giving into the very real and understandable excuse of “not enough time,” why not get creative? I’m talking about using your phone’s note taking app and its audio transcription feature to quickly tell your story. Who knows? Learning this simple technique may open the floodgates of your important family memories!
Since the Apple family of apps is what I know the best and use every day, the following instructions are based on the iOS Notes app iOS 18.1 but you can figure out earlier versions without a problem. But, never fear Android users. Google has you covered. Their Google Keep app also features audio input and transcription. We’ll cover that app very soon in a new article. I took a sneak peek and it has some fun features! For now, you can explore Google Keep here.
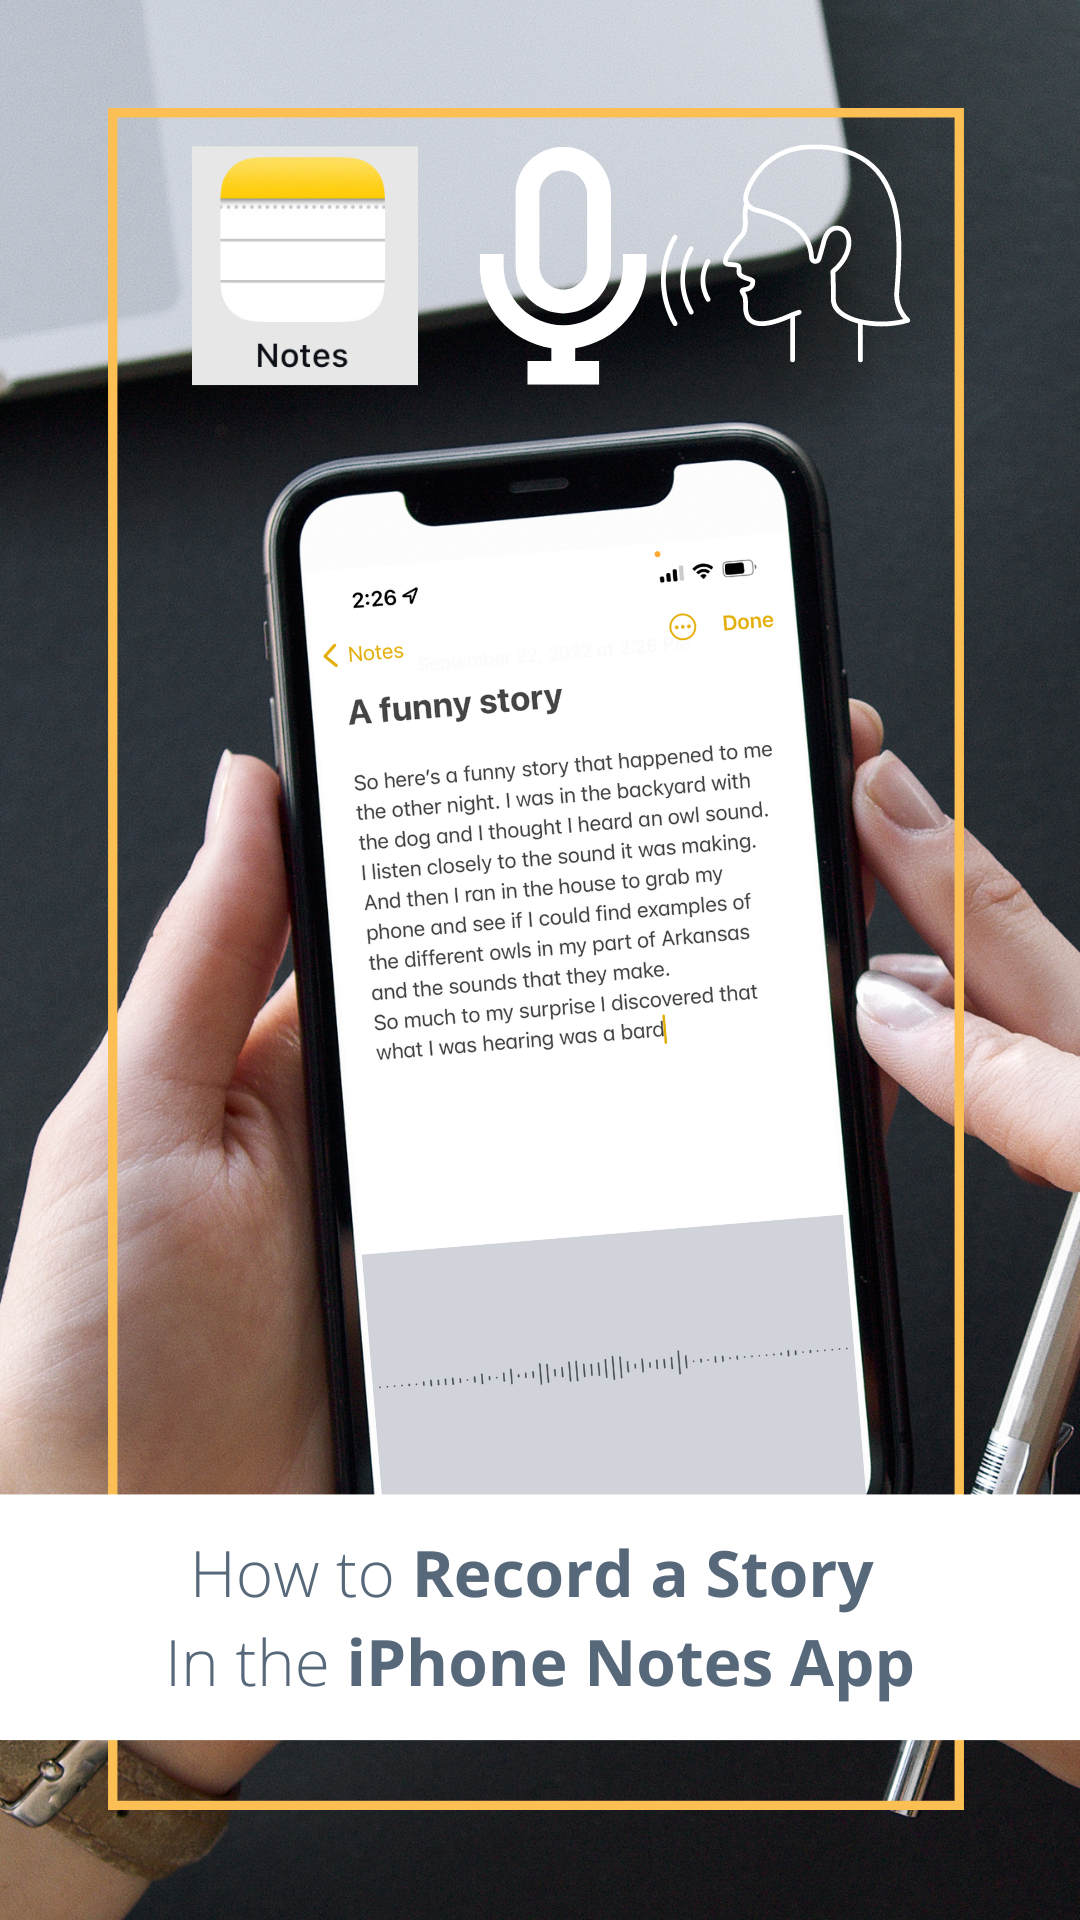
Record and Transcribe A Story on Notes App
![]() Step 1 – Open up Notes
Step 1 – Open up Notes
If you’re not a regular user of Notes, you might need to find it in your App library. Just swipe right to find the Search utility at the top of your screen. Type in “Notes” and you’ll go to the app.
Step 2 – Create a new note
Look down in the lower right corner of the screen to find the square with the pencil on it. Tap there to open a new note.
Step 3 – Give Your Note a Name
I’m not sure if it’s the default setting, but my notes all start with a “Title” line. Anything typed there is in a larger, bold font. Even if your Notes don’t start this way, you’re still going to want to give it some sort of name for future reference. If you want to play around with these settings, go to your phone’s main Settings, scroll down to Notes and then look for “New Notes Start With.”
So, for now, type in your title and then hit return on your phone’s keyboard to get down into the body of the note.
 Step 4 – And Now, the Magic of Audio Transcription
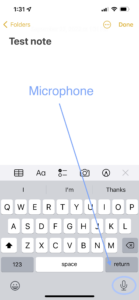
Now the fun begins! If your keyboard is not already open, just tap in the body of the note to open it up. You’ll see a little microphone icon in the bottom right corner of your screen. Tap on that and start talking. If you want to save some editing time later, it’s perfectly okay to say “period” at the end of a sentence or even “exclamation mark.” But you don’t have to! The goal here is to get that story out of your head – so talk away! Who cares if it’s just one long sentence?
Step 5 – Store or Export
When you’re finished, if you like you can keep your wonderful stories right here in your iCloud account. They’ll be safe and secure in the Cloud.
When you want to export the note to a computer for future use, tap the 3 dots in a circle at the top right corner of your screen. Tap on “Send a copy” and you’ll see all the usual ways to export something from your phone – AirDrop, send in a text message, send in an email, etc. There are even options to share with someone else.

When your Note arrives via an email, it’s inside the body of the email and is also easy to copy and paste.
Step 6 – Password Protect If Your Story is Private for Now
If someone else has access to your phone and you want to keep this story to yourself for now, just “lock” it with a password. Tap the 3 dots in a circle at the top right corner of your screen. Tap on “Lock” and fill in the information there.
So that’s it! Not so hard, is it? I hope you’ll take a few minutes to play around with this feature. It’s just one more way to use the amazing technology available to you to capture those important stories.


0 Comments